Consider using UV glue if you’re looking for a robust and durable bond for your acrylic projects. In this comprehensive guide, we’ll explore the benefits of UV glue for acrylic bonding, the types of acrylic adhesion that UV glue is suitable for, and how to choose the right UV glue for your project. We’ll also discuss the importance of proper surface preparation and provide tips for troubleshooting common issues that may arise during the bonding process.
Acrylic is a popular material for various DIY projects, from creating custom displays and signage to building furniture or aquariums. However, achieving a robust and lasting bond can be challenging. Traditional adhesives often struggle to create a bond that can withstand stress, moisture, or other factors that acrylic may be exposed to, and that’s where UV glue comes in.
UV glue, also known as UV-curing adhesive, is an adhesive activated by ultraviolet light. When exposed to UV light, the glue hardens and creates a strong, permanent bond. In this article, we’ll explore the benefits of UV glue for acrylic bonding, the types of acrylic adhesion that UV glue is suitable for, and how to choose the right UV glue for your project. We’ll also discuss the importance of proper surface preparation and provide tips for troubleshooting common issues that may arise during the bonding process.
What is UV Glue?
To understand the benefits of UV glue for acrylic bonding, it’s essential to first understand what UV glue is and how it works. This section will define UV glue and explain how it differs from traditional adhesives. We’ll also discuss the benefits of using UV glue for acrylic bonding, such as its high strength, quick curing time, and resistance to environmental factors.
Understanding Acrylic Bonding
Acrylic bonding can be a challenging process, especially if you’re working with complex shapes or materials. This section will provide an overview of acrylic bonding and why it’s essential. We’ll also discuss the challenges of bonding acrylic and how UV glue can help overcome them. Additionally, we’ll explain the types of acrylic bonding that UV glue is suitable for, such as edge bonding, butt bonding, or bonding acrylic to other materials.
Choosing the Right UV Glue
Choosing the suitable UV glue for your project is crucial for achieving a robust and lasting bond. In this section, we’ll discuss the factors to consider when choosing UV glue for acrylic bonding, such as strength, viscosity, and curing time. We’ll also provide examples of popular UV glue brands and their features, so you can choose the one that best fits your project.
Preparing for Bonding
Proper surface preparation is crucial for achieving a successful bond with UV glue. This section will discuss the importance of cleaning and preparing acrylic surfaces before bonding. We’ll explain the steps, including degreasing the surfaces, sanding or roughening the edges, and removing debris or dust.
Bonding Acrylic with UV Glue
Now that you understand the basics of UV glue and acrylic bonding, it’s time to learn how to bond acrylic with UV glue. Here are the steps to follow:
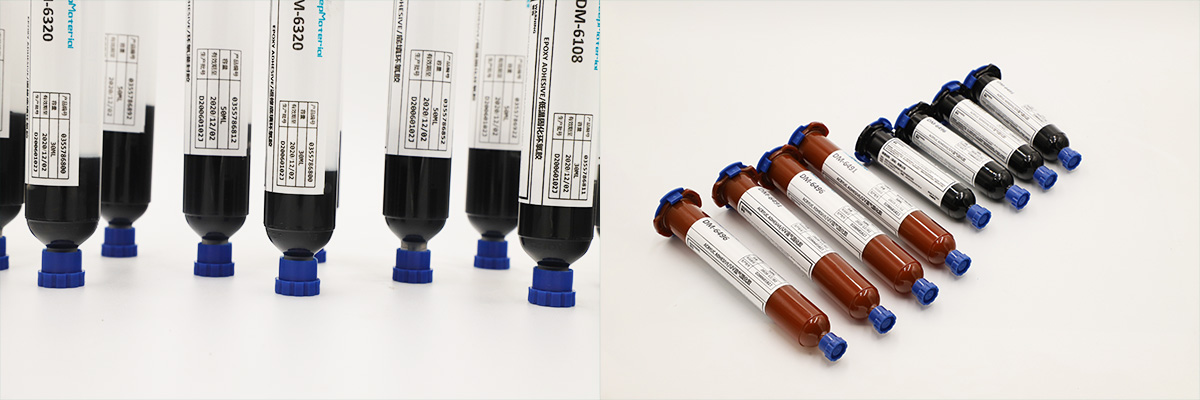
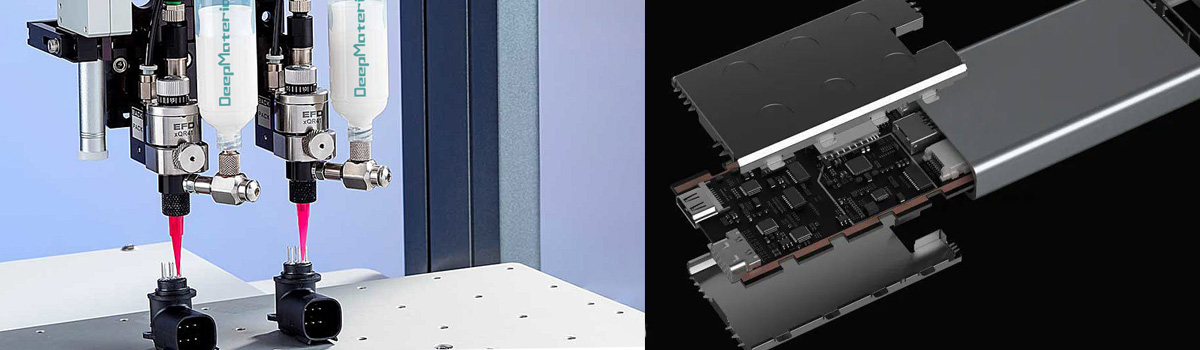
Apply the UV glue: Using a syringe or other applicator, apply the UV glue to one of the acrylic surfaces. Be sure to apply the glue evenly and in a sufficient amount.
Position the acrylic pieces: Carefully position the two pieces together, ensuring they are aligned correctly.
Cure the bond: Using a UV light, shine the light on the bonded area for the recommended curing time, typically between 10 and 60 seconds. Move the light around to ensure that the entire bond is cured evenly.
Test the bond: After curing, test the strength of the bond by applying pressure or gently pulling on the acrylic pieces. If the bond is not strong enough, repeat the bonding process with more UV glue.
Here are some tips for achieving a robust and durable bond:
- Ensure the acrylic surfaces are clean and debris-free before applying the UV glue.
- Apply the glue in a thin, even layer to ensure that the bond is not too thick and that there are no air bubbles.
- Use UV light with the appropriate wavelength and intensity for your UV glue.
- Be sure to cure the bond for the recommended time and move the light around to ensure even healing.
Troubleshooting Common Issues
Even with proper preparation and application, issues can sometimes arise during the acrylic bonding. Here are some common problems and how to troubleshoot them:
Air bubbles: If air bubbles form in the bond, use a pin or needle to gently puncture the bubble and apply more UV glue to the area.
Uneven curing: If the bond does not cure evenly, try using a different UV light or adjusting the distance and angle of the light.
Weak bond: If the bond is not strong enough, repeat the bonding process with more UV glue or consider using a stronger UV glue.
To avoid these issues in the future, follow the recommended steps for surface preparation, application, and curing.